


Guide Orbis setup is a powerful navigation and configuration platform that requires a structured setup process. From downloading the software to fine-tuning your settings, this guide walks you through every step—installation, configuration, optimization, and troubleshooting—so you can get the most out of the platform from day one.
Getting started with a new software platform can feel overwhelming. There are settings to configure, preferences to define, and potential pitfalls at every turn. Guide Orbis is no exception—but once you understand the logic behind its setup, the whole process becomes far more manageable.
This guide was written for users who are new to the platform and want a clear, step-by-step path from installation to full optimization. Whether you’re setting up Guide Orbis for personal use or deploying it across a team, you’ll find practical instructions, configuration tips, and optimization strategies that make a real difference.
By the end, you’ll know exactly how to install the software correctly, configure it for your specific needs, avoid the most common setup mistakes, and unlock the platform’s full potential. No guesswork, no frustration—just a clean, efficient setup from start to finish.
What Is Guide Orbis and Who Is It For?
Guide Orbis is a comprehensive navigation and workflow management platform designed to help users organize, track, and optimize complex processes. Its modular architecture makes it flexible enough for individual users and scalable enough for enterprise teams.
The platform is particularly well-suited for project managers, operations teams, and technical administrators who need a centralized system to manage workflows, monitor progress, and configure automated processes. That said, its interface is intuitive enough for beginners to get started without a steep learning curve—provided they follow the right setup process.
Understanding the Guide Orbis setup process from the beginning will save you significant time and prevent configuration errors that are difficult to reverse later.
System Requirements: What You Need Before You Start
Before diving into the Guide Orbis setup, confirm that your system meets the minimum requirements. Running the platform on an underpowered machine can cause performance issues that are often misdiagnosed as configuration problems.
Minimum System Requirements
|
Component |
Minimum Requirement |
Recommended |
|---|---|---|
|
Operating System |
Windows 10 / macOS 11 |
Windows 11 / macOS 13+ |
|
Processor |
Dual-core 2.0 GHz |
Quad-core 3.0 GHz+ |
|
RAM |
4 GB |
8 GB or more |
|
Storage |
10 GB free space |
20 GB SSD |
|
Internet |
Broadband (5 Mbps) |
25 Mbps or faster |
|
Browser (Web) |
Chrome 90+ / Firefox 88+ |
Latest stable version |
Meeting the recommended specifications—not just the minimum—ensures a smoother experience during both the initial Guide Orbis setup and ongoing use.
How to Set Up Guide Orbis: A Step-by-Step Installation Tutorial
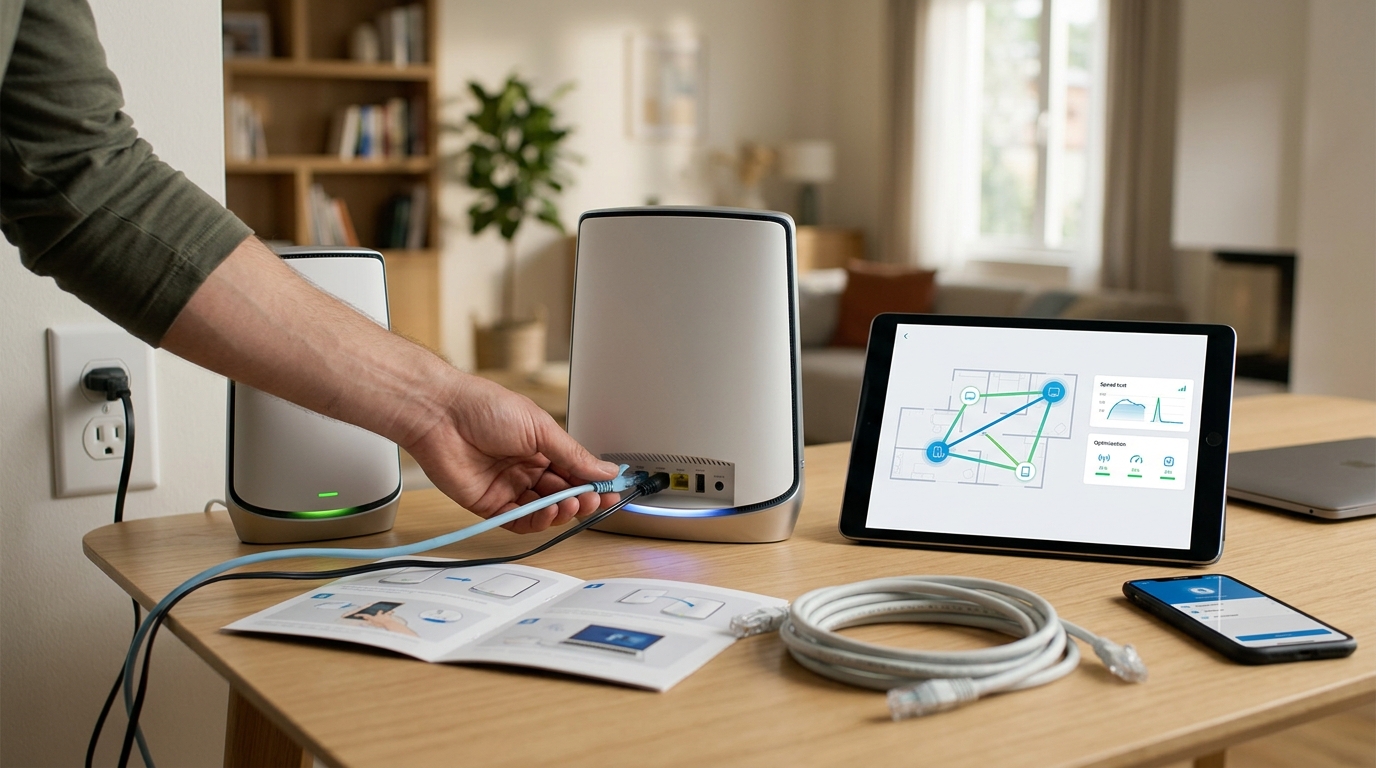
The installation process for Guide Orbis is straightforward, but the order of steps matters. Skipping ahead or rushing through the initial configuration can create problems that surface later and require a full reinstall to fix.
Step 1: Download the Official Installer
Always download Guide Orbis directly from the official website or your organization’s licensed software portal. Third-party download sources can distribute outdated or modified versions of the platform, which can introduce security vulnerabilities and compatibility issues.
Once on the download page, select the version that matches your operating system. The installer file is typically between 300 MB and 600 MB, depending on the version and included packages.
Step 2: Run the Installer with Administrator Privileges
Before launching the installer, right-click the file and select “Run as Administrator” (Windows) or authenticate with your system password (macOS). This ensures the installer has the necessary permissions to write files to the correct directories and register system components.
Attempting to install without elevated privileges is one of the most common Guide Orbis setup mistakes—and it often results in missing dependencies that cause the platform to behave unpredictably after launch.
Step 3: Choose Your Installation Type
Guide Orbis offers two installation modes:
- Standard Installation: Installs the full platform with all default modules enabled. Recommended for most users.
- Custom Installation: Lets you select specific modules, change the installation directory, and configure advanced options during setup. Recommended for system administrators.
For first-time users following this Guide Orbis installation tutorial, the standard installation is the better starting point. You can always add or remove modules after the initial setup.
Step 4: Accept the License Agreement and Configure the Installation Path
Read through the license agreement carefully before proceeding. Pay attention to clauses about data usage, multi-device licensing, and commercial use—especially if you’re deploying Guide Orbis in a business environment.
When selecting an installation path, avoid installing to the default “Program Files” directory if your organization has security policies that restrict write access to that location. Instead, choose a dedicated application directory with appropriate read/write permissions.
Step 5: Complete the Installation and Launch the Platform
Once the installer finishes, launch Guide Orbis. On first launch, the platform will run an automatic environment check to verify that all required dependencies are installed and that your system meets the performance requirements.
If the environment check flags any issues, resolve them before proceeding. Continuing past unresolved dependency warnings is a common Guide Orbis setup mistake that leads to instability down the line.
Guide Orbis Configuration Steps: Setting Up Your Environment
Installation gets the software on your machine. Configuration is what makes it work for you. The Guide Orbis configuration steps below cover everything from account setup to module activation and data integration.
Setting Up Your User Account and Permissions
After launching the platform for the first time, you’ll be prompted to create or connect a user account. If you’re setting up Guide Orbis for a team, this is the stage where you’ll define user roles and permissions.
Guide Orbis uses a role-based access control (RBAC) system. The key roles are:
- Admin: Full access to all settings, modules, and user management
- Manager: Access to project data, reporting, and team configuration
- Member: Standard access to assigned workflows and tasks
- Viewer: Read-only access to specified dashboards and reports
Take time to configure permissions accurately at this stage. Changing access levels after workflows have been built can disrupt existing automations and require manual reconfiguration.
Configuring Your Workspace Settings
Navigate to Settings > Workspace to configure your core environment. Key settings to adjust include:
Language and Regional Settings
Set your preferred language, date format, time zone, and currency. These settings affect how data is displayed across the platform and how scheduled automations are triggered. Misaligned time zone settings are a subtle but impactful source of errors in automated workflows.
Notification Preferences
Guide Orbis sends notifications via email, in-app alerts, and (in some versions) SMS. Configure these early so your team receives the right information without being overwhelmed by alerts. Over-notification is a fast track to important messages being ignored.
Integration Settings
If you plan to connect Guide Orbis to external tools—such as CRM platforms, project management software, or data pipelines—configure your integrations from Settings > Integrations. The platform supports both native integrations and API-based connections.
For API integrations, you’ll need to generate an API key from the developer settings panel. Store this key securely; it provides full programmatic access to your Guide Orbis environment.
Activating and Configuring Modules
Guide Orbis is built around a modular system. Each module adds a specific set of features to your workspace. Common modules include:
|
Module |
Function |
|---|---|
|
Workflow Engine |
Build and automate multi-step processes |
|
Analytics Dashboard |
Track KPIs and generate reports |
|
Document Manager |
Store, organize, and version-control files |
|
Communication Hub |
Centralize team messaging and notifications |
|
Data Connector |
Sync external data sources in real time |
Activate only the modules you need. Running unnecessary modules increases system load and can slow down the platform, particularly on machines that meet only the minimum requirements.
Guide Orbis Setup for Beginners: Understanding the Interface
For users who are new to the platform, navigating the Guide Orbis interface can take some getting used to. Here’s a quick orientation.
The Main Navigation Panel
The left-hand panel is your primary navigation tool. It displays all active modules, your recent activity, and quick-access shortcuts. You can customize this panel by dragging and reordering items or pinning frequently used sections to the top.
The Dashboard
Your dashboard is the first screen you see after logging in. By default, it displays a summary of your active workflows, recent notifications, and key metrics. You can customize dashboard widgets by clicking Edit Dashboard in the top-right corner.
The Settings Menu
All configuration options live in the Settings menu, accessible from the bottom-left corner of the navigation panel. The settings are organized into logical categories: Workspace, Account, Integrations, Security, and Billing.
Spending 15–20 minutes exploring the settings menu during your initial Guide Orbis setup will give you a strong foundation before you start building workflows or adding team members.
Guide Orbis Optimization Tips: Getting the Best Performance
Once your environment is configured and your team is onboarded, the next step is optimization. These Guide Orbis optimization tips will help you improve performance, streamline your workflows, and reduce manual overhead.
Audit and Streamline Your Active Workflows
Over time, Guide Orbis workspaces tend to accumulate unused or redundant workflows. Conduct a quarterly audit of all active automations to identify any that are duplicated, outdated, or triggering unnecessary system load. Archiving inactive workflows keeps your environment clean and improves overall platform responsiveness.
Use Conditional Logic to Reduce Manual Steps
Guide Orbis’s workflow engine supports conditional branching—meaning you can set rules that automatically route tasks, trigger notifications, or update records based on specific criteria. Implementing conditional logic reduces the number of manual interventions required and minimizes the risk of human error in repetitive processes.
Optimize Your Data Integrations
If you’re pulling data from external sources, schedule your sync intervals thoughtfully. Real-time syncing is resource-intensive; for data that doesn’t need to be updated constantly, a scheduled sync every hour or every few hours will reduce system load without meaningfully impacting data freshness.
Leverage the Analytics Dashboard for Continuous Improvement
The Analytics Dashboard is one of Guide Orbis’s most underutilized features. Use it to track workflow completion rates, identify bottlenecks, and measure the impact of configuration changes. Setting up weekly or monthly automated reports keeps your team informed without requiring manual data pulls.
Regularly Update the Platform
Guide Orbis releases updates that include performance improvements, security patches, and new features. Enable automatic updates or establish a regular update schedule. Running an outdated version of the platform can expose your environment to known vulnerabilities and cause compatibility issues with newer integrations.
Common Guide Orbis Setup Mistakes to Avoid
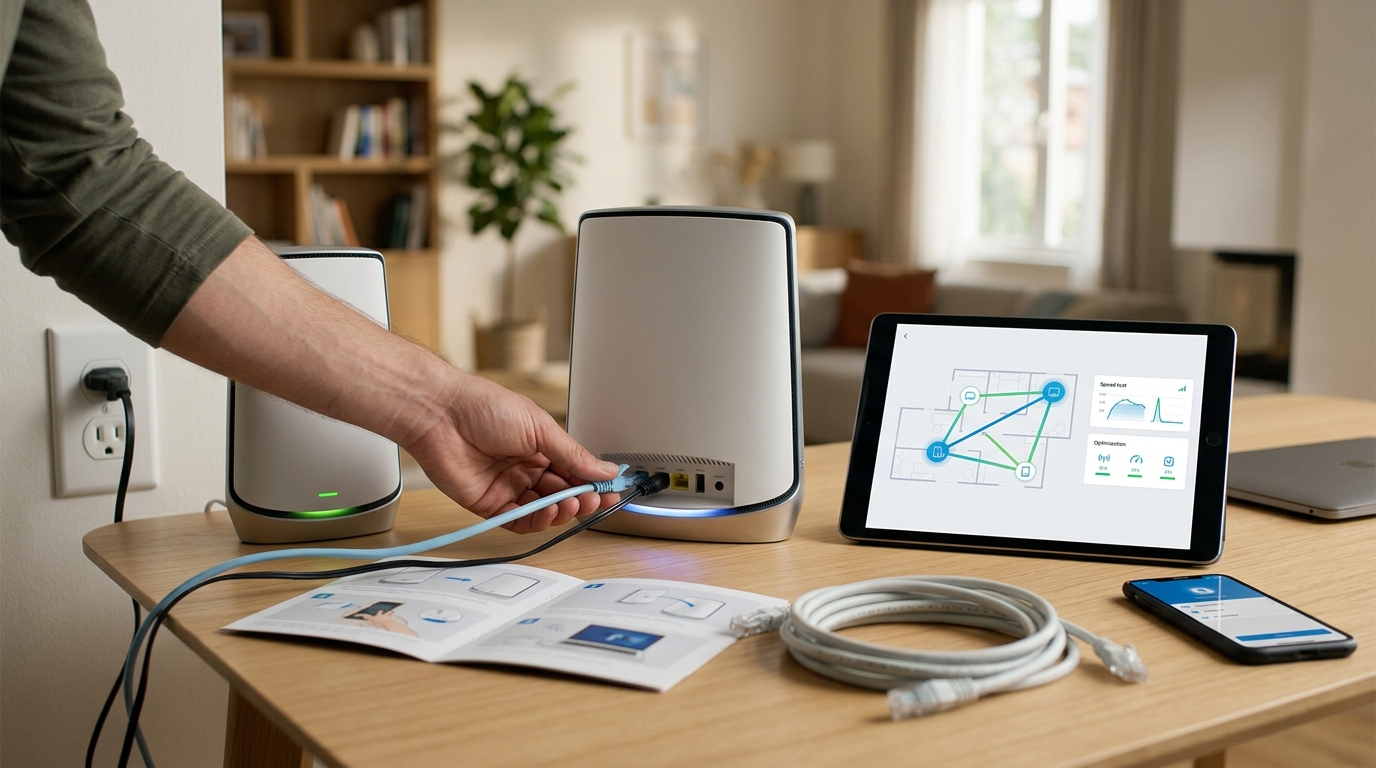
Even experienced users make setup errors. These are the most frequent Guide Orbis setup mistakes—and how to avoid them.
Installing Without Administrator Privileges
As mentioned in the installation section, running the installer without admin rights causes permission errors that result in missing components. Always install with elevated privileges.
Skipping the Environment Check
The post-installation environment check exists for a reason. Dismissing it without resolving flagged issues leads to unpredictable behavior that’s difficult to diagnose later.
Misconfiguring Time Zone Settings
If your team spans multiple time zones, failing to configure this correctly will cause scheduled workflows to trigger at the wrong times. Set the workspace time zone to a central reference (such as UTC) and let users set their own local display preferences.
Overloading the Platform with Active Modules
Activating every available module from the start is a common beginner mistake. Start with the modules you need immediately and add others as your use of the platform matures.
Neglecting Permission Management
Giving all users admin access is a security risk and a governance problem. Take the time to configure RBAC correctly from the beginning.
Guide Orbis Best Configuration Practices for Teams
If you’re deploying Guide Orbis across a team or organization, these best configuration practices will help you maintain a clean, scalable, and secure environment.
Establish a Configuration Naming Convention
Consistent naming conventions for workflows, modules, and integrations make your environment significantly easier to manage. Decide on a naming format before you start building and enforce it across your team.
Document Your Configuration Decisions
Keep a living document that records all major configuration decisions, including which modules are active, how integrations are set up, and why specific settings were chosen. This documentation is invaluable when onboarding new administrators or troubleshooting issues.
Create a Test Environment
Before rolling out significant configuration changes to your live environment, test them in a staging workspace. Guide Orbis supports multiple workspace environments, which makes it easy to validate changes before they affect your production setup.
Schedule Regular Configuration Reviews
Your configuration needs will evolve as your team and workflows grow. Schedule a quarterly configuration review to assess whether your current setup still aligns with your operational requirements.
Setting up Guide Orbis correctly from the start makes everything that follows easier—from daily use to long-term scaling. Here’s a quick recap of the key steps covered in this guide:
- Installation: Download from official sources, run with admin privileges, and choose the right installation type for your needs.
- Configuration: Set up user accounts and permissions, configure workspace settings, and activate only the modules you need.
- Optimization: Audit workflows regularly, use conditional logic, optimize data integrations, and keep the platform updated.
- Common mistakes: Avoid skipping the environment check, misconfiguring time zones, overloading modules, and neglecting permission management.
- Best practices for teams: Use naming conventions, document your decisions, test changes in a staging environment, and review your configuration regularly.
A well-configured Guide Orbis environment reduces manual effort, improves visibility across your workflows, and scales with your organization as your needs grow.
Frequently Asked Questions
What is Guide Orbis used for?
Guide Orbis is a workflow and navigation management platform used to organize, automate, and optimize complex processes. It is commonly used by project managers, operations teams, and technical administrators to centralize their work and improve efficiency.
How long does the Guide Orbis setup process take?
For a standard single-user installation, the Guide Orbis setup process typically takes 30–60 minutes. For a full team deployment with custom configurations, integrations, and permission management, allow 2–4 hours for initial setup, with additional time for testing.
Can beginners use Guide Orbis without technical experience?
Yes. Guide Orbis is designed with an intuitive interface that beginners can navigate without deep technical knowledge. Following a structured Guide Orbis setup for beginners—such as the steps outlined in this guide—makes the process accessible regardless of prior experience.
What are the most common Guide Orbis setup mistakes?
The most common mistakes include installing without administrator privileges, skipping the post-installation environment check, misconfiguring time zone settings, activating unnecessary modules, and failing to set up proper role-based permissions.
How do I optimize Guide Orbis for better performance?
Key Guide Orbis optimization tips include auditing and archiving unused workflows, implementing conditional logic to reduce manual steps, scheduling data sync intervals thoughtfully, leveraging the analytics dashboard, and keeping the platform updated to the latest version.
Does Guide Orbis support team collaboration?
Yes. Guide Orbis includes role-based access control, shared workspaces, a communication hub module, and integration capabilities that support team collaboration across departments and locations.
How do I connect Guide Orbis to external tools?
Navigate to Settings > Integrations within the platform. Guide Orbis supports native integrations with a range of common tools, as well as API-based connections for custom integrations. You’ll need to generate an API key from the developer settings panel for API connections.
